Jersey photographer: how to photograph your baby at home
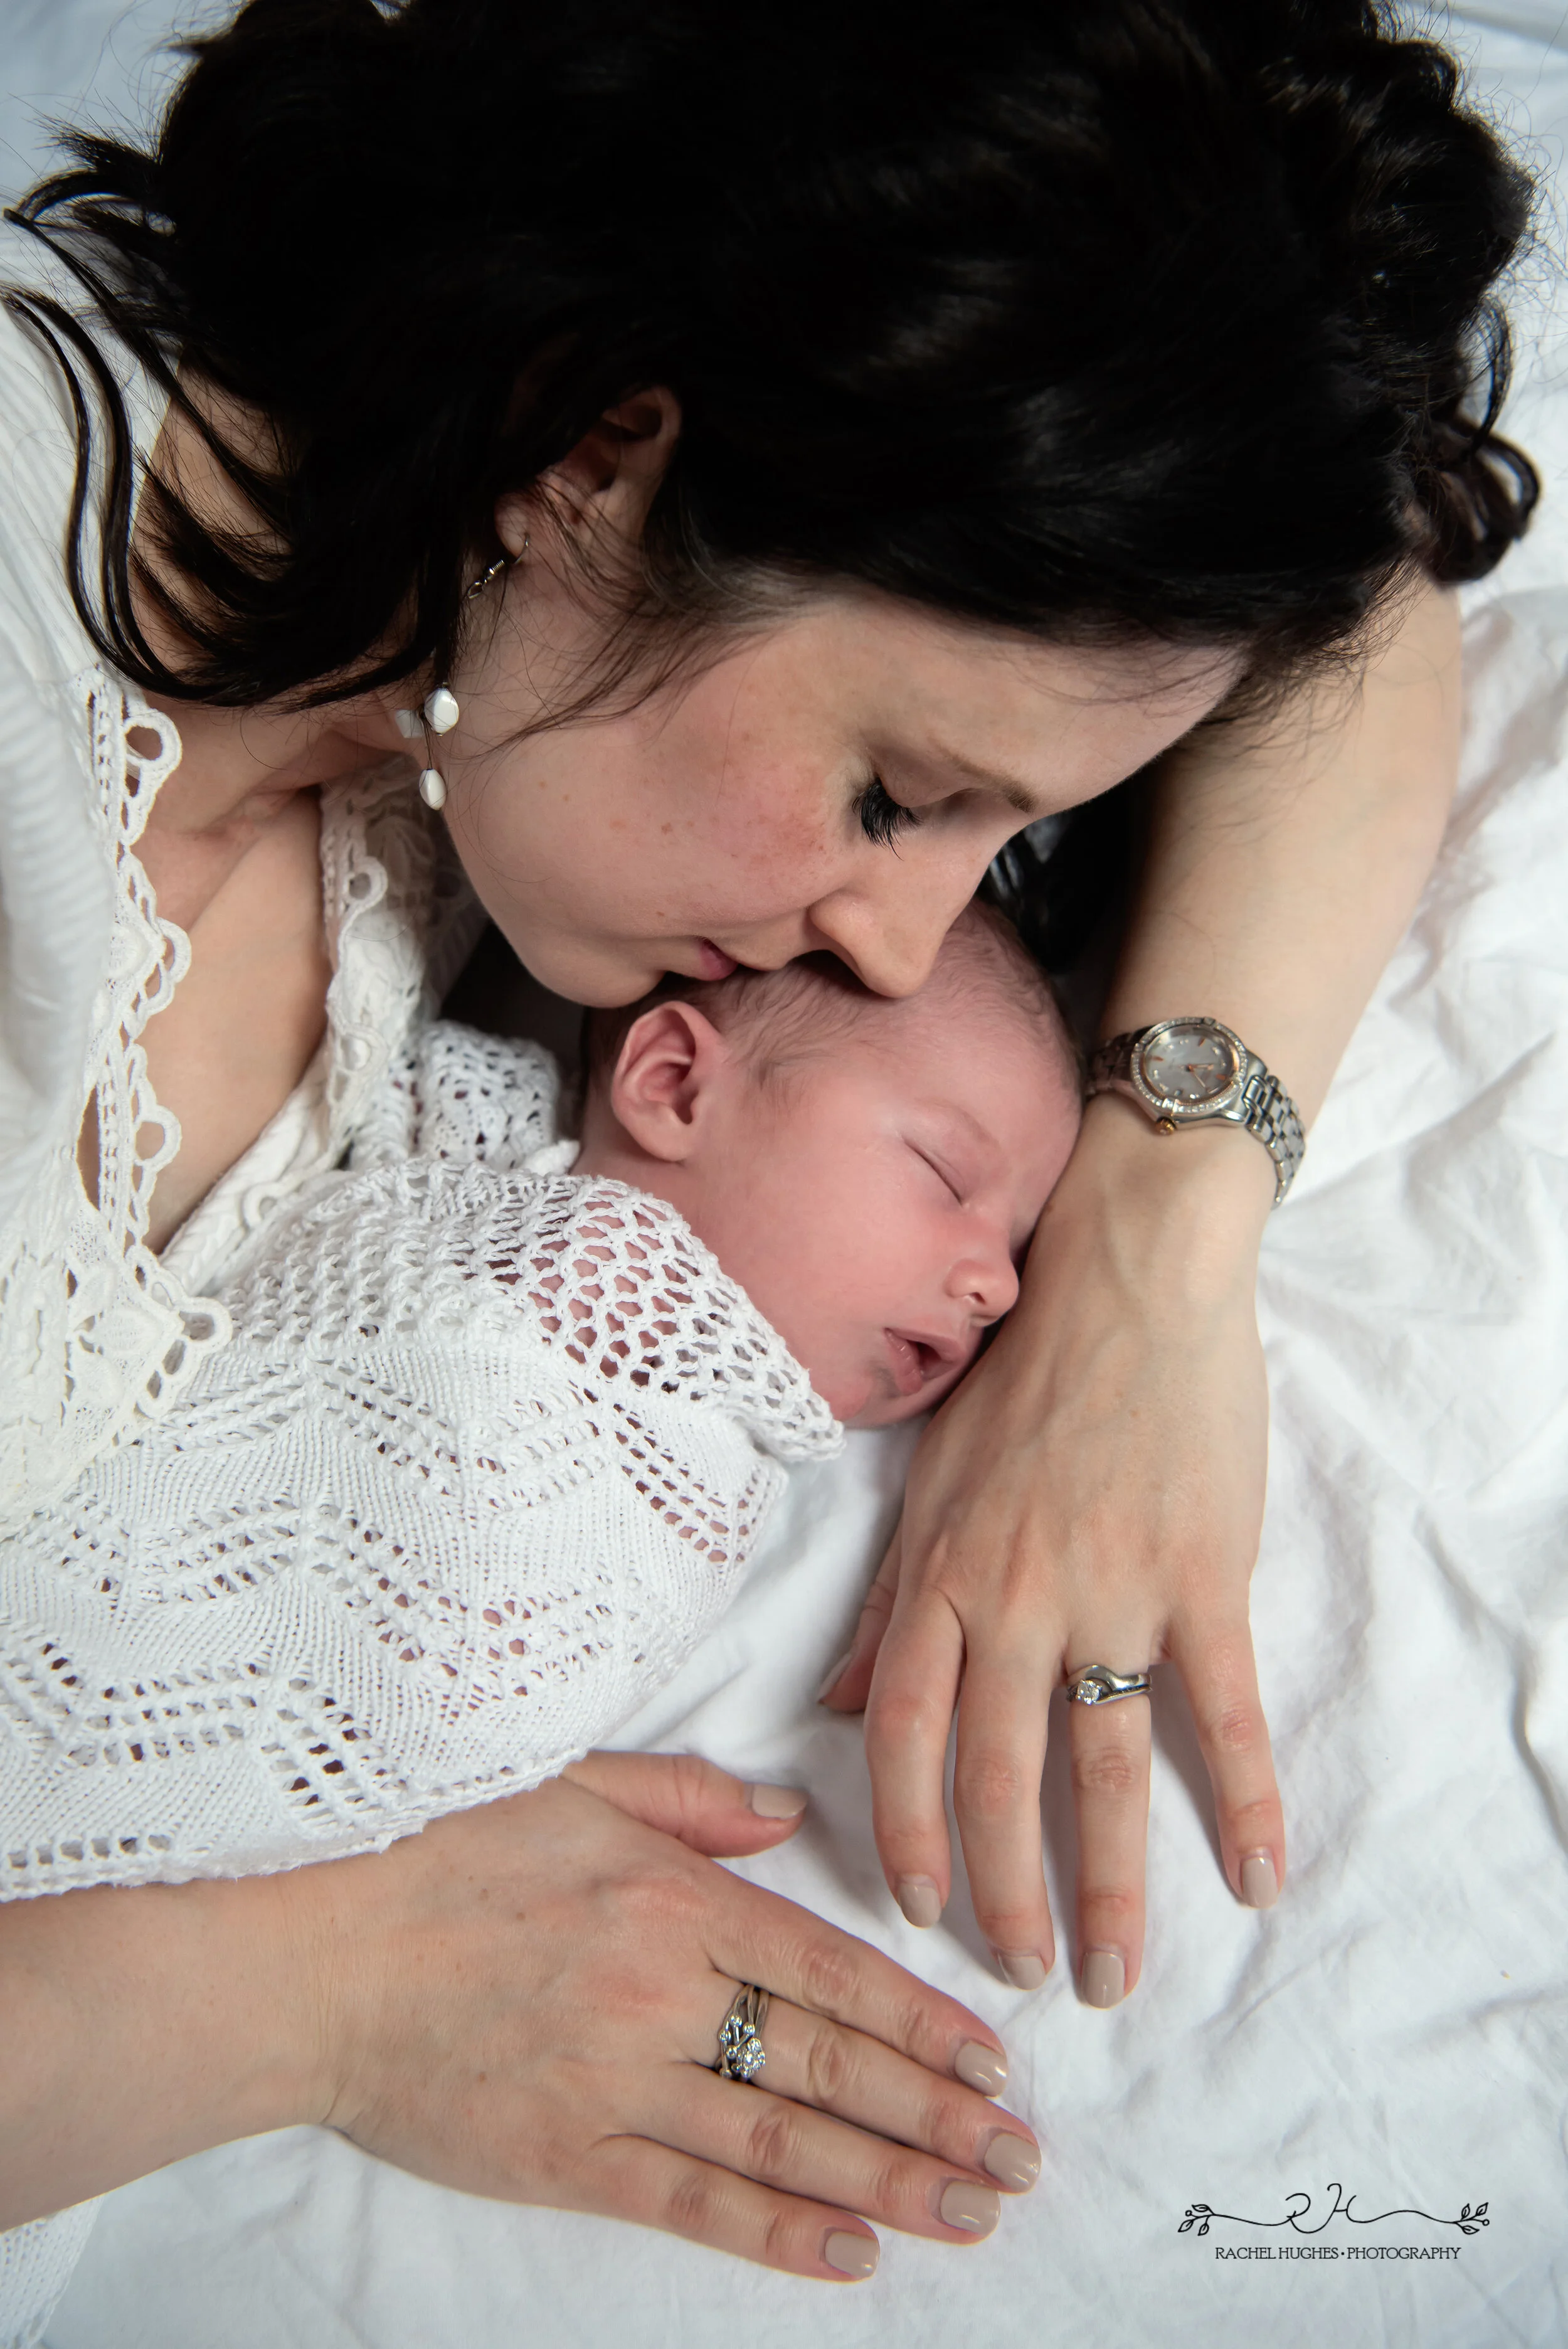
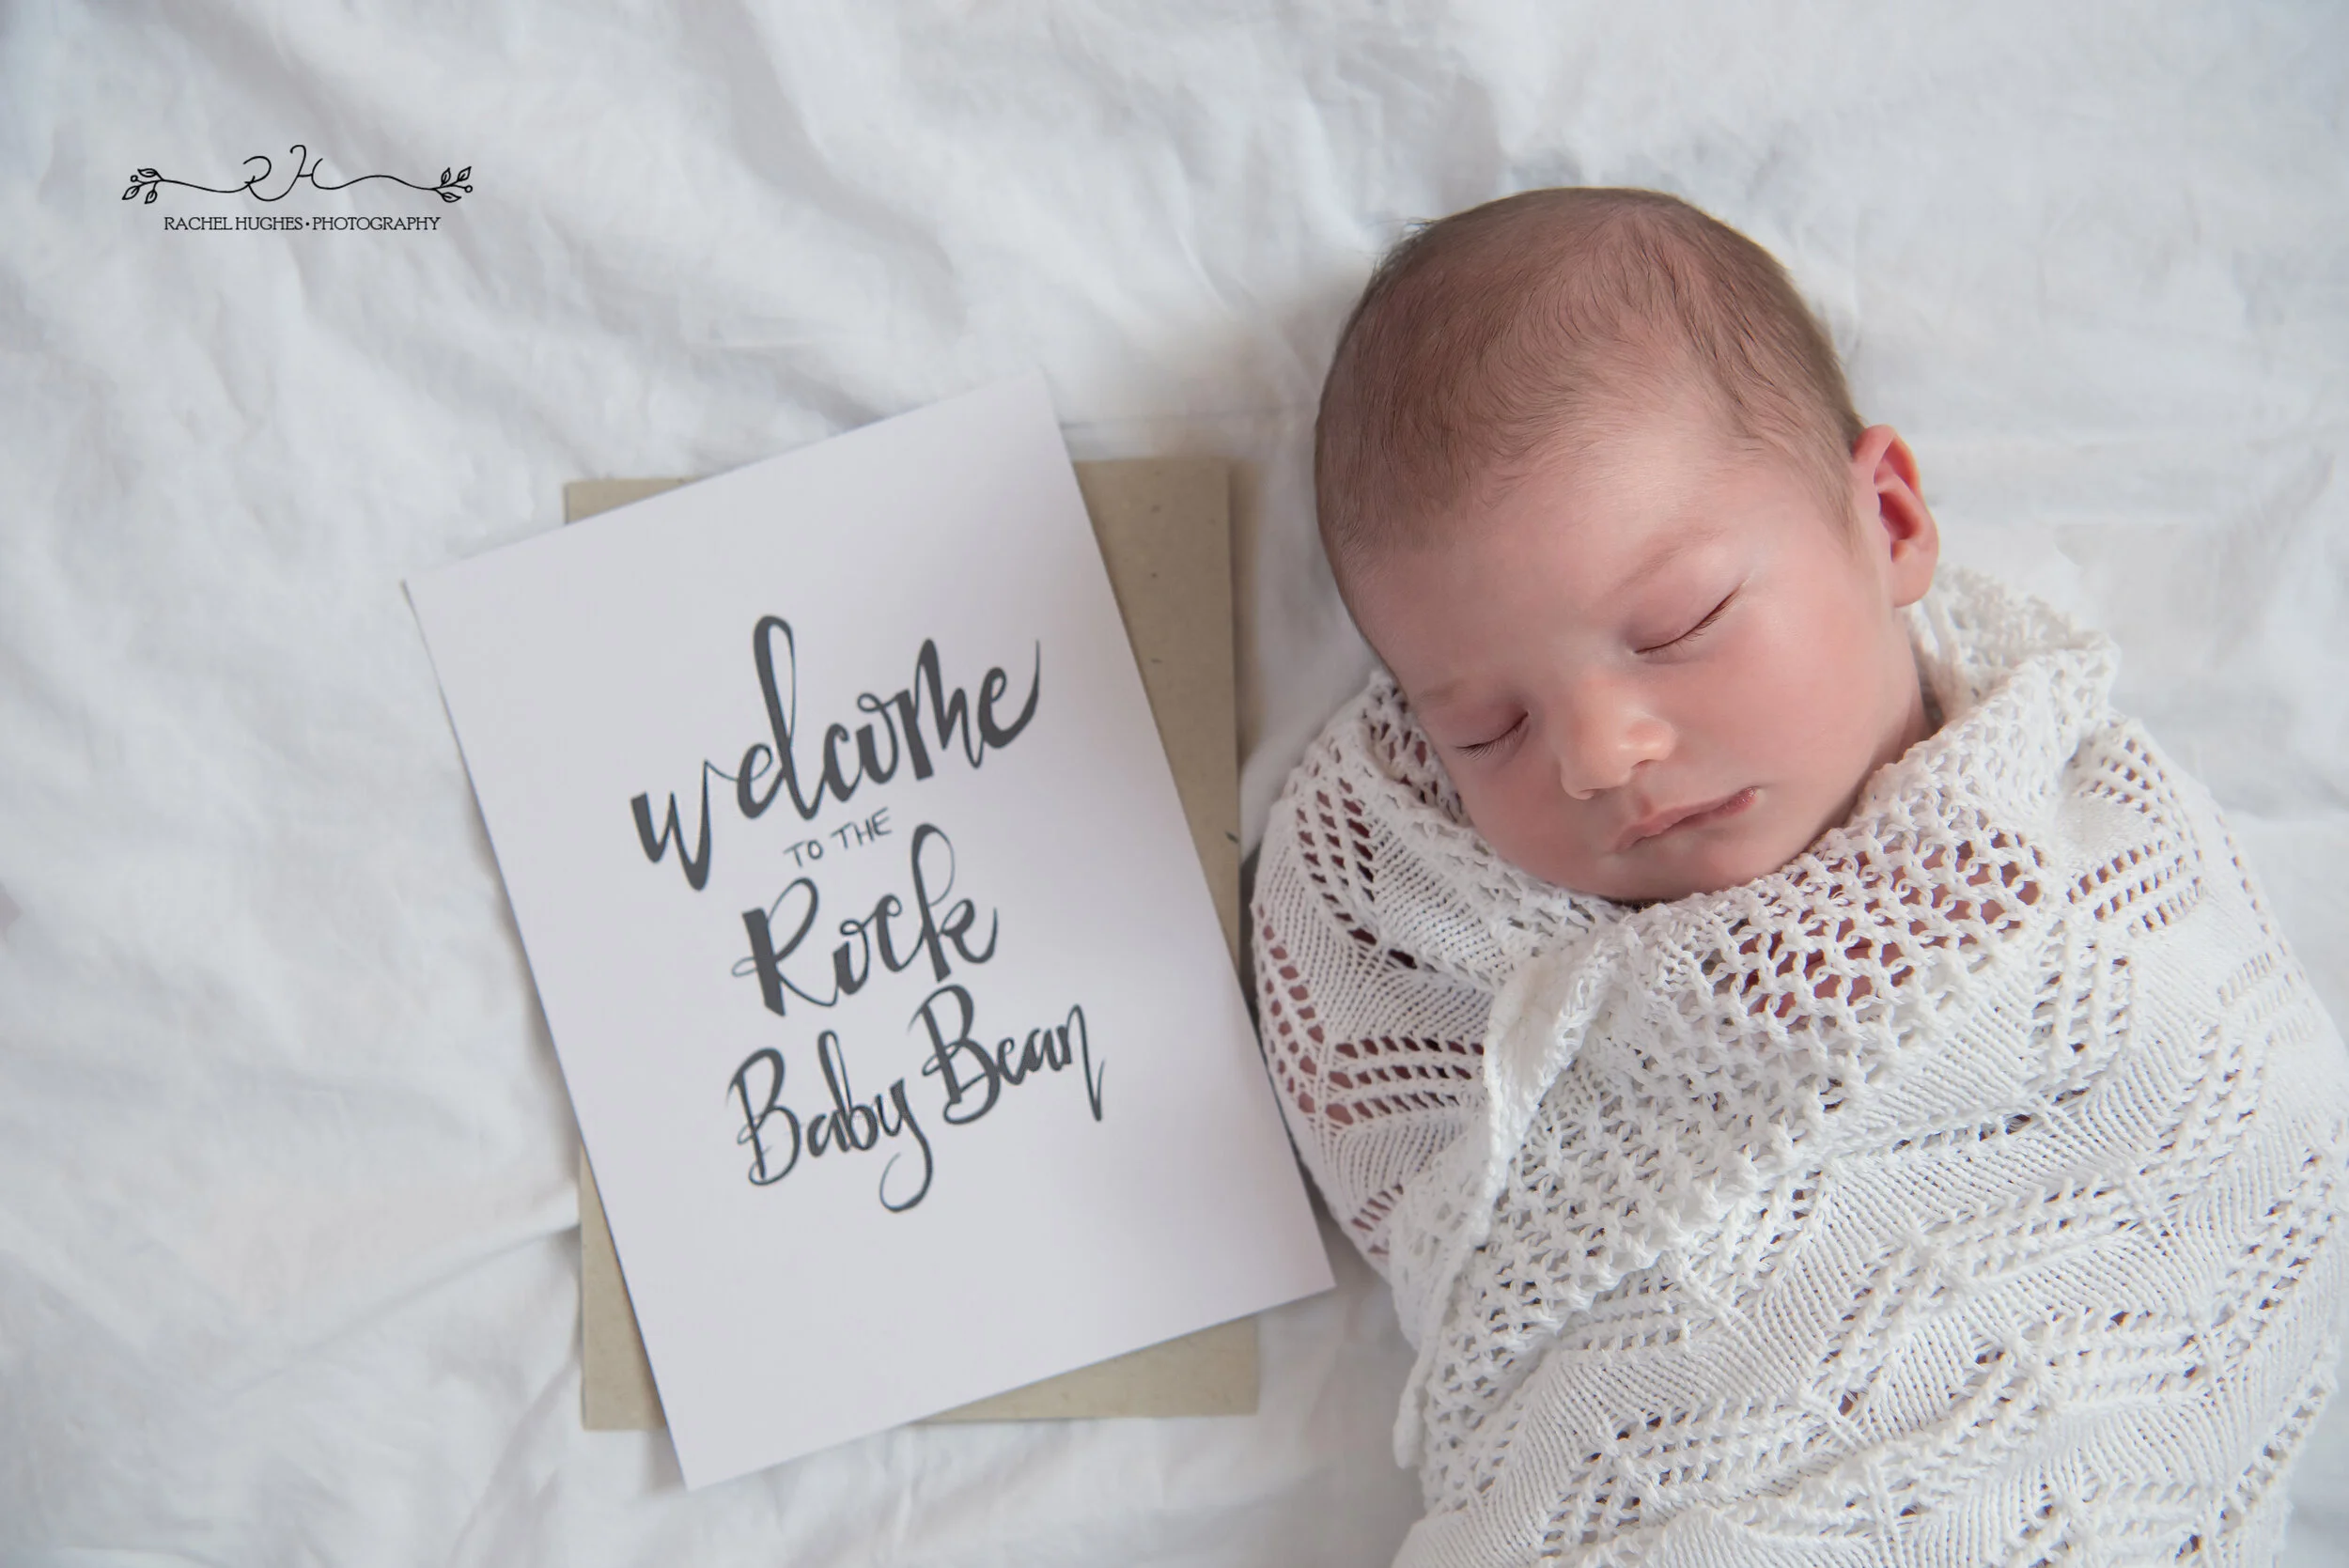
I was still out taking photographs several weeks ago, in blissful ignorance of how the coronavirus pandemic would arrive in Jersey so quickly, and change our lives so dramatically. The photos in this blog are from the last newborn session I photographed before coronavirus arrived on our shores. As a Jersey family photographer it’s been sadly necessary for me to reschedule all my sessions in the next month or so as we all get through this together. I know this is especially hard for those who had a newborn at home session booked, as the newborn phase is so fleeting and this is not something you can do ‘in a few month’s time’.
In order to help all the new parents who now no longer have the opportunity to have their new baby photographed professionally, I wanted to put together some tips on how to photograph your newborn at home. A lot of these tips can also be applied to photographing babies and toddlers at home.
Equipment and camera settings
If you have a dSLR camera, then great! If you don’t, please don’t worry, just skip to the next section.
For a dSLR, you ideally need a nice wide lens (24mm or 35mm) for indoor newborn portraits. For my photoshoots, I shoot with a 24-70mm lens, which gives me a nice range to play with.
I’d recommend avoiding flash for a newborn session if you are doing this yourself, as the softness of natural light is so much more flattering. You will need to let as much natural light as possible into your camera. Set your aperture to a low number. So on my lens, this is f/2.8. If you are not yet comfortable shooting in Manual mode, the easiest way to do this is to turn your dial to Aperture Priority Mode, set to your lowest aperture, and your camera will do the rest for you.
A low aperture also means that your photographs will have a very shallow depth of field. This is perfect for newborn photographs as it means just their eyelashes, nose and lips will be in focus, whereas the background will be soft and blurry.
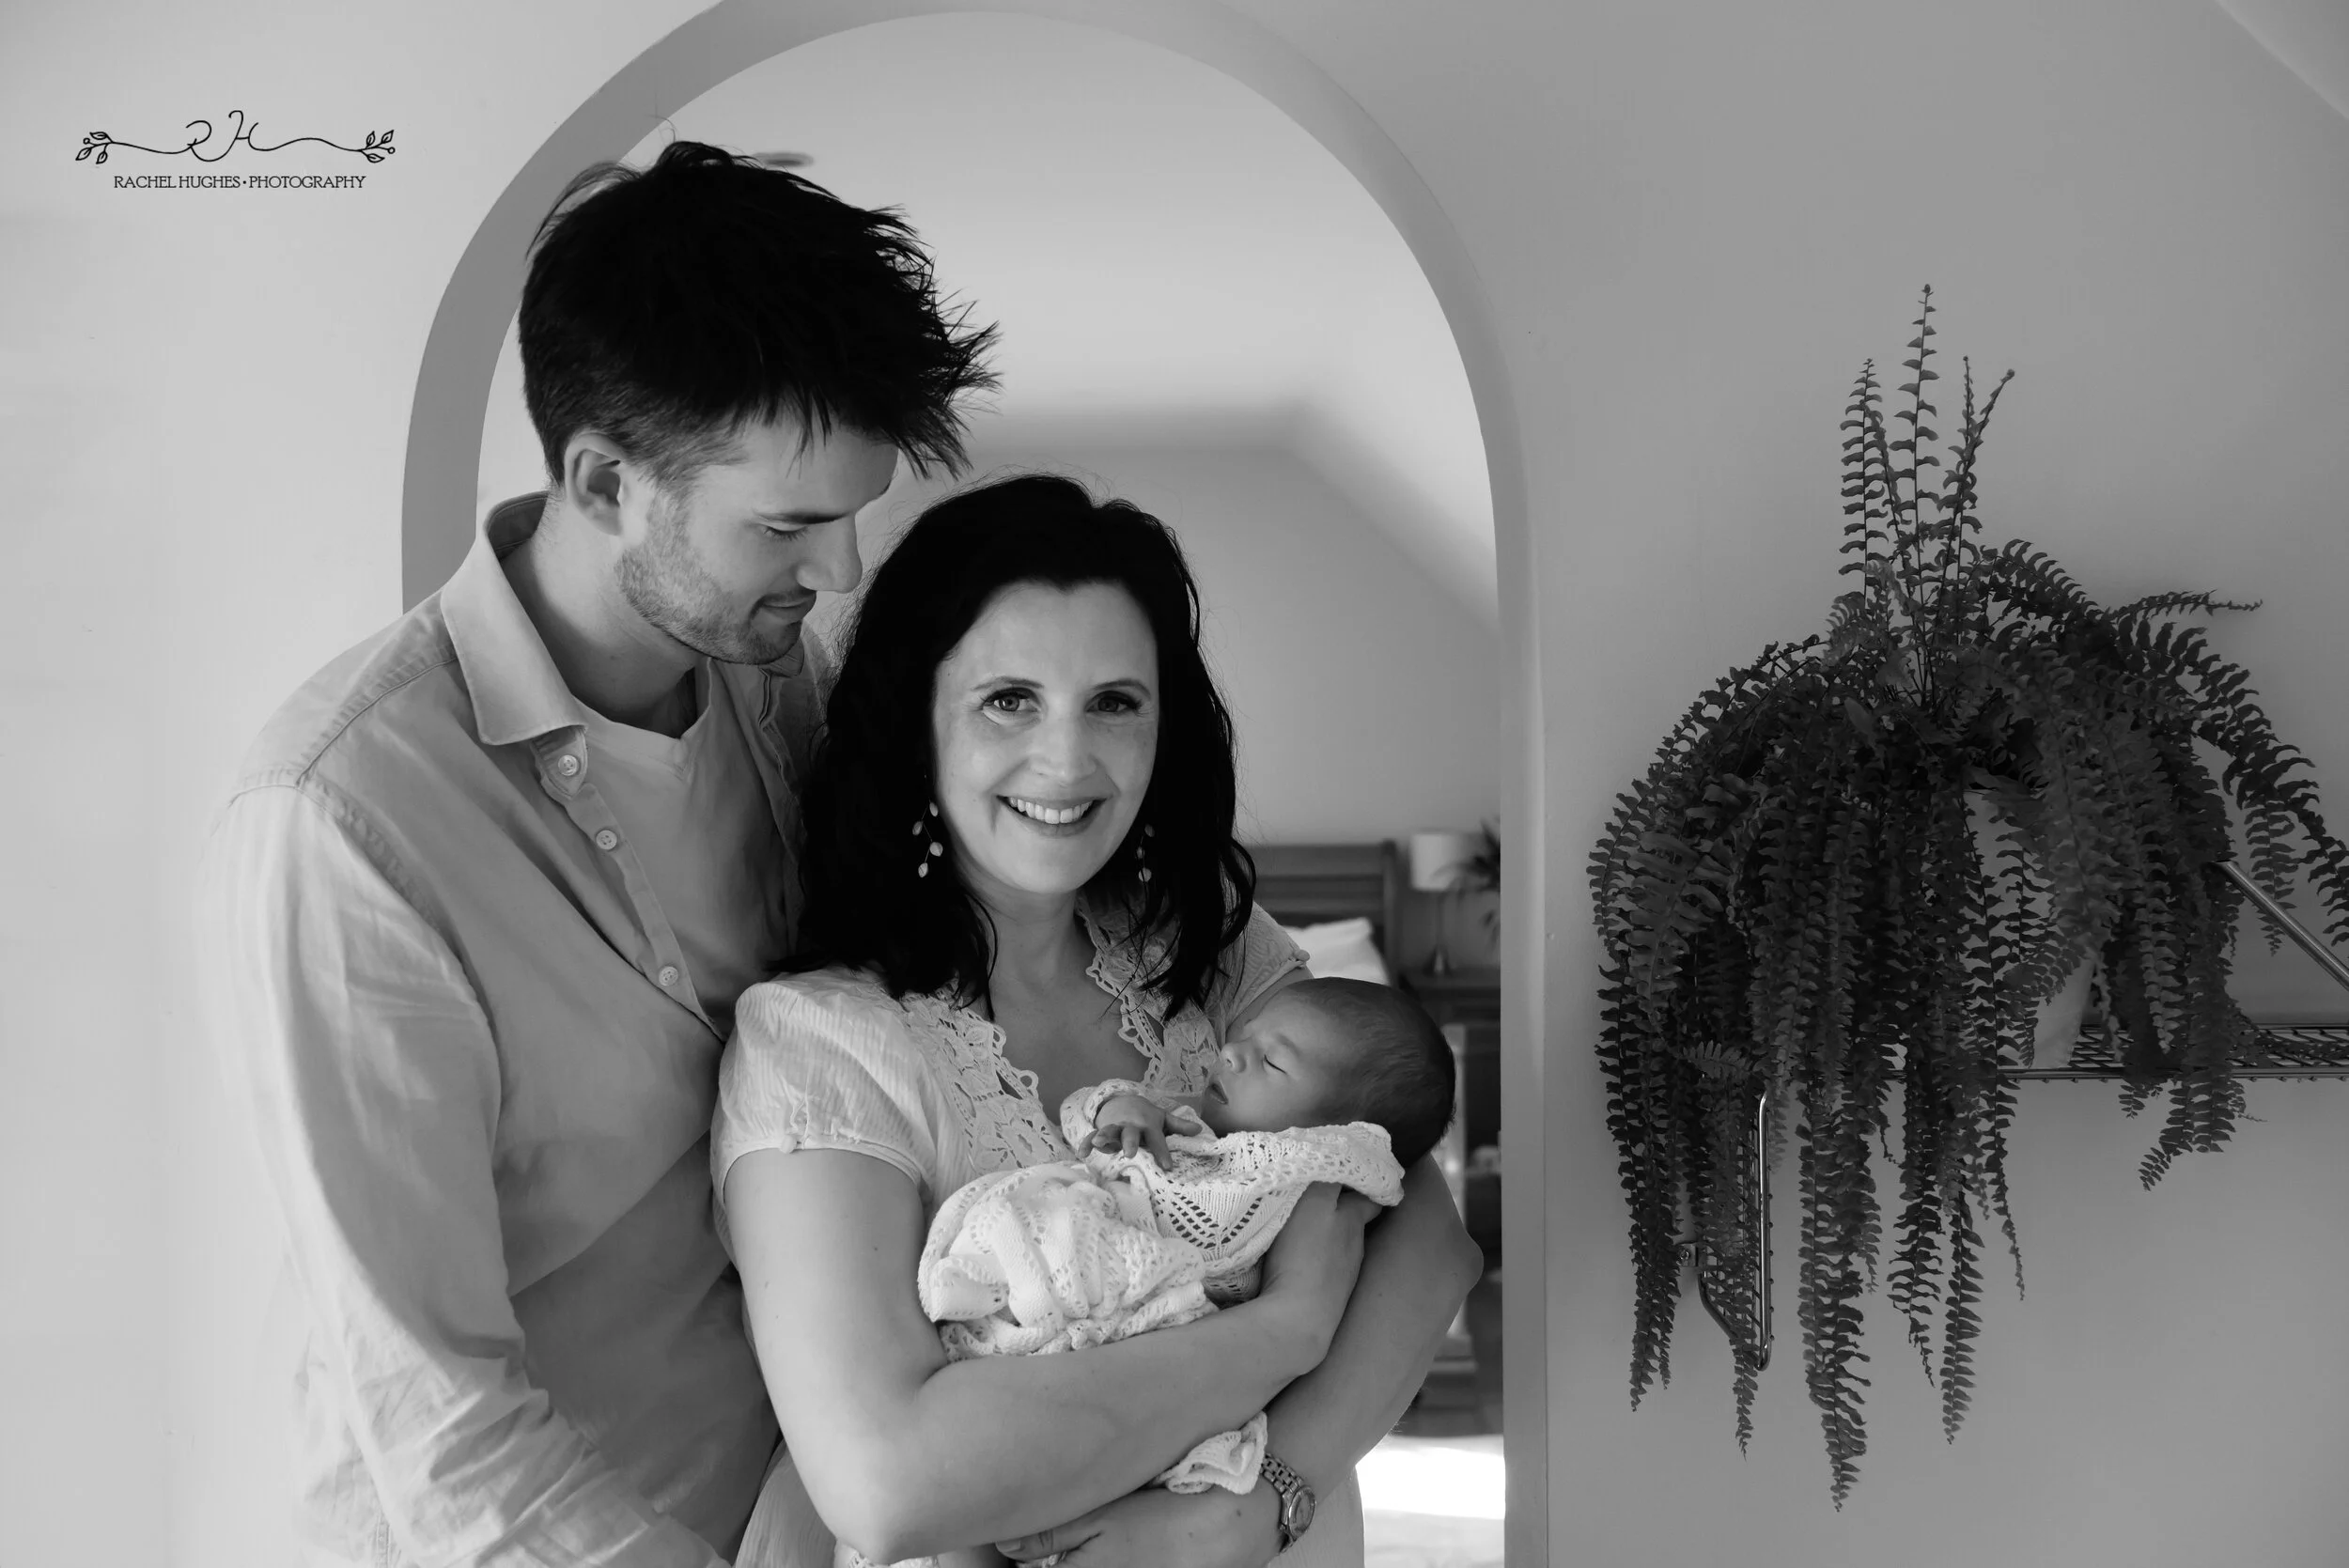
If however you are taking a photograph of your baby with other people in, you will need to increase your aperture to, say, f/4 to f/5.6, to make sure they are all in focus too.
If you are interested in my manual settings for this session (though note the lighting in your home make generate different results), they were:
For pictures of just baby: ISO 320, aperture f/2.8, shutter speed 1/200 sec
For pictures of one person with baby: ISO 800, aperture f/4, shutter speed 1/200 sec
For pictures of the whole family if the children are moving: ISO 1000, aperture f/5.6, shutter speed 1/500 sec.
How to keep baby happy and settled
There are a few things you can do to ensure your baby stays happy, and you get beautiful images.
Make sure the room you are photographing in is nice and warm. I often ask my clients to crank up the heating in their bedroom and lounge before I arrive. This is especially important if you want some photographs where your baby is showing a lot of skin, and won’t be snuggled under a blanket.
Make sure you feed your baby before you start photographing. A nice, full belly makes for a very happy baby!
I find that babies tend to be sleepiest and therefore more settled in the mornings. I normally schedule my photoshoots between 9-11am.
Make your baby feel secure. My favourite way to do this is to swaddle them in a blanket - they may fuss a little whilst you are wrapping the blanket around them, but once they feel snug they are visibly calm and content. You can look up simple tutorials on how to do this online, by searching for things such as ‘simple newborn wrap’.
Play some white noise. I always have my phone with me during a newborn session, and place it just to the side out of the shot, whilst it plays soothing sounds of rainfall, waves or birdsong in a forest. You can find plenty of white noise apps to choose from. It makes it quite relaxing for you too!
Find the pretty, natural light
In order to have the most flattering light, just keep a few simple things in mind:
Choose the rooms in your house that are the best lit. Typically this is your bedroom and the lounge.
You want to photograph during the day, and ideally not a dark overcast day, so that you are using just natural window light and not switching on fluorescent lightbulbs overhead.
Photograph your baby in indirect light. This means you are capturing all the lovely light coming through a window, but are not placing baby in the direct glare of the sun.
If there is too much sunlight streaming through your window, a plain white bedsheet sheet or plain white shower curtain held up against the window can soften the light falling into the room.
How to keep baby safe throughout
Keeping your baby safe is so important whilst you are taking photographs.
If you are photographing your baby from directly above, make sure you have your camera strap around your neck.
If you are photographing your baby from above on the bed, and if the bed is a little soft and unsteady under your feet, consider moving your duvet onto the floor for some firmer footing!
Don’t be tempted to try any unnatural poses with your baby, as these are typically done by professionals that have been trained safely in these techniques, and often involve clever photoshop skills to give the illusion of the baby doing something that they were not. Keep it pure, natural and simple.
Dress your baby and you in natural colours
A simple white babygrow, or a white/cream knitted blanket, always photograph beautifully and allow your baby’s natural features to be the centre of attention in your photographs. Neutral colours and bare feet also look gorgeous and casual on family members.
Include meaningful items and shots of your house
Don’t forget that when your baby grows up, they won’t just be interested in looking at what they looked like, but what the house that they grew up in looked like. Make sure you take some wide angle shots of the rooms you are in too.
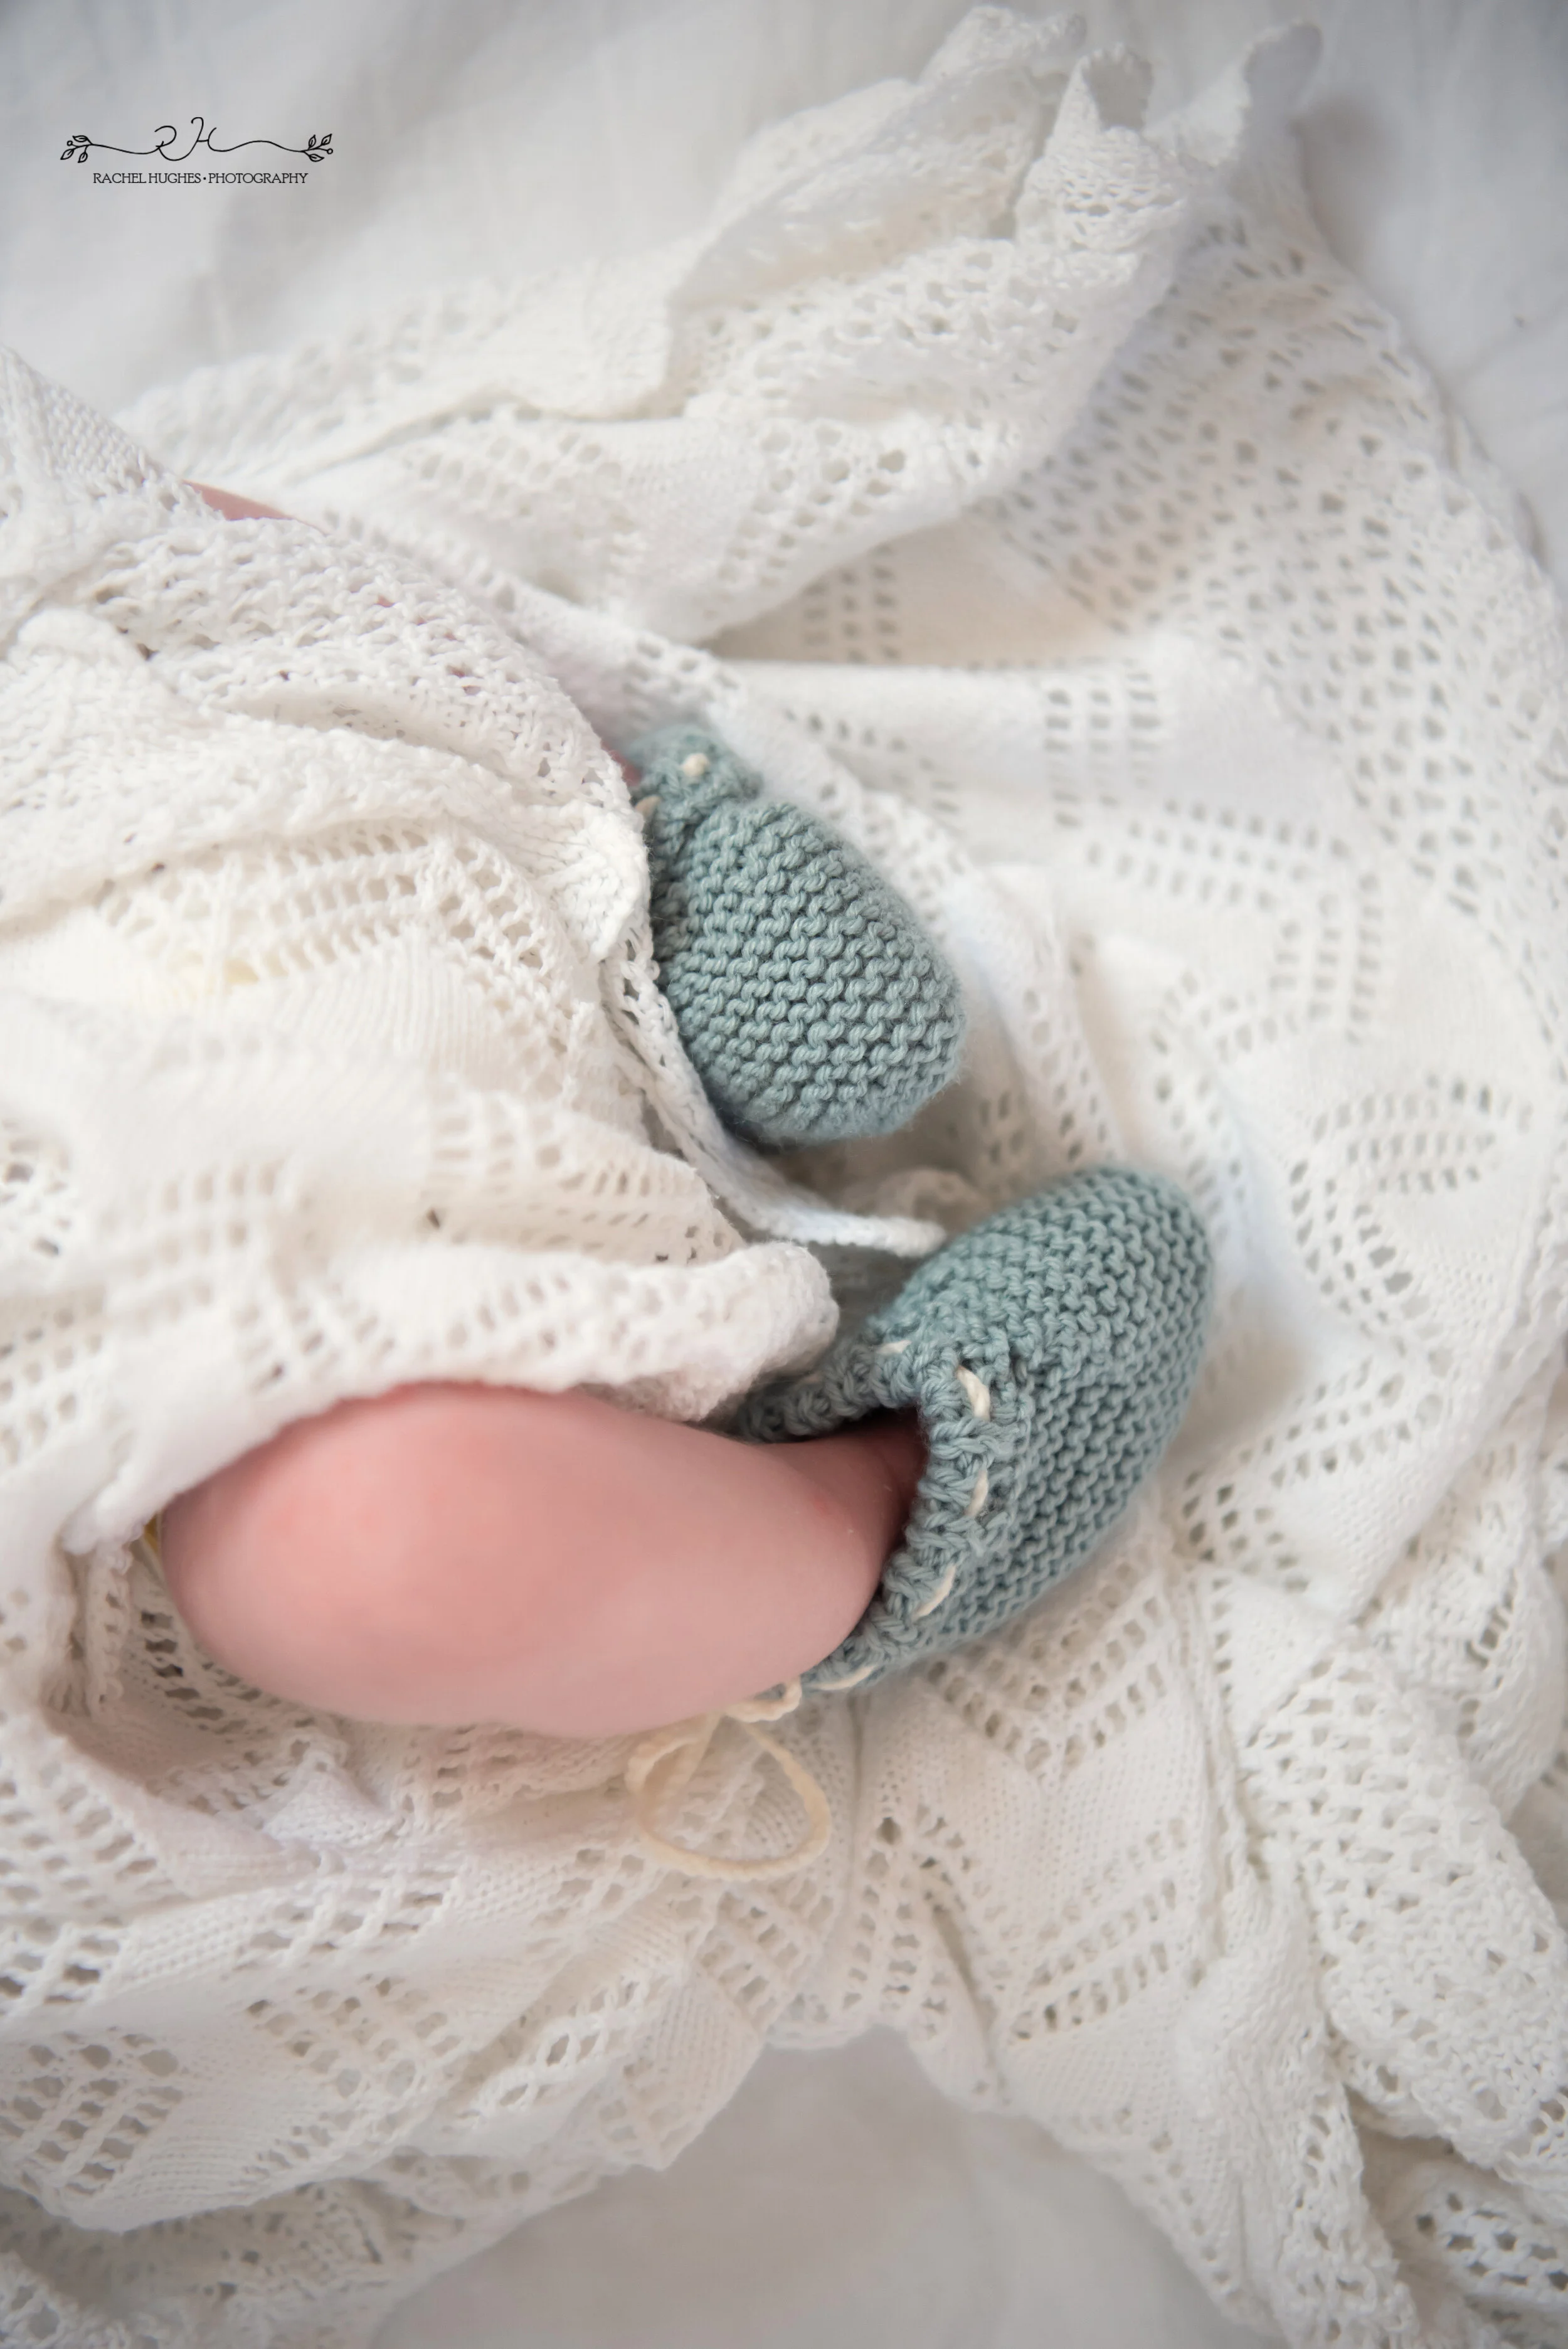
And remember that photographing special items made or bought for your baby will mean a lot to the family members that gifted them - so include those sweet knitted booties in the shot!
Photographs to show tiny details and how small they were
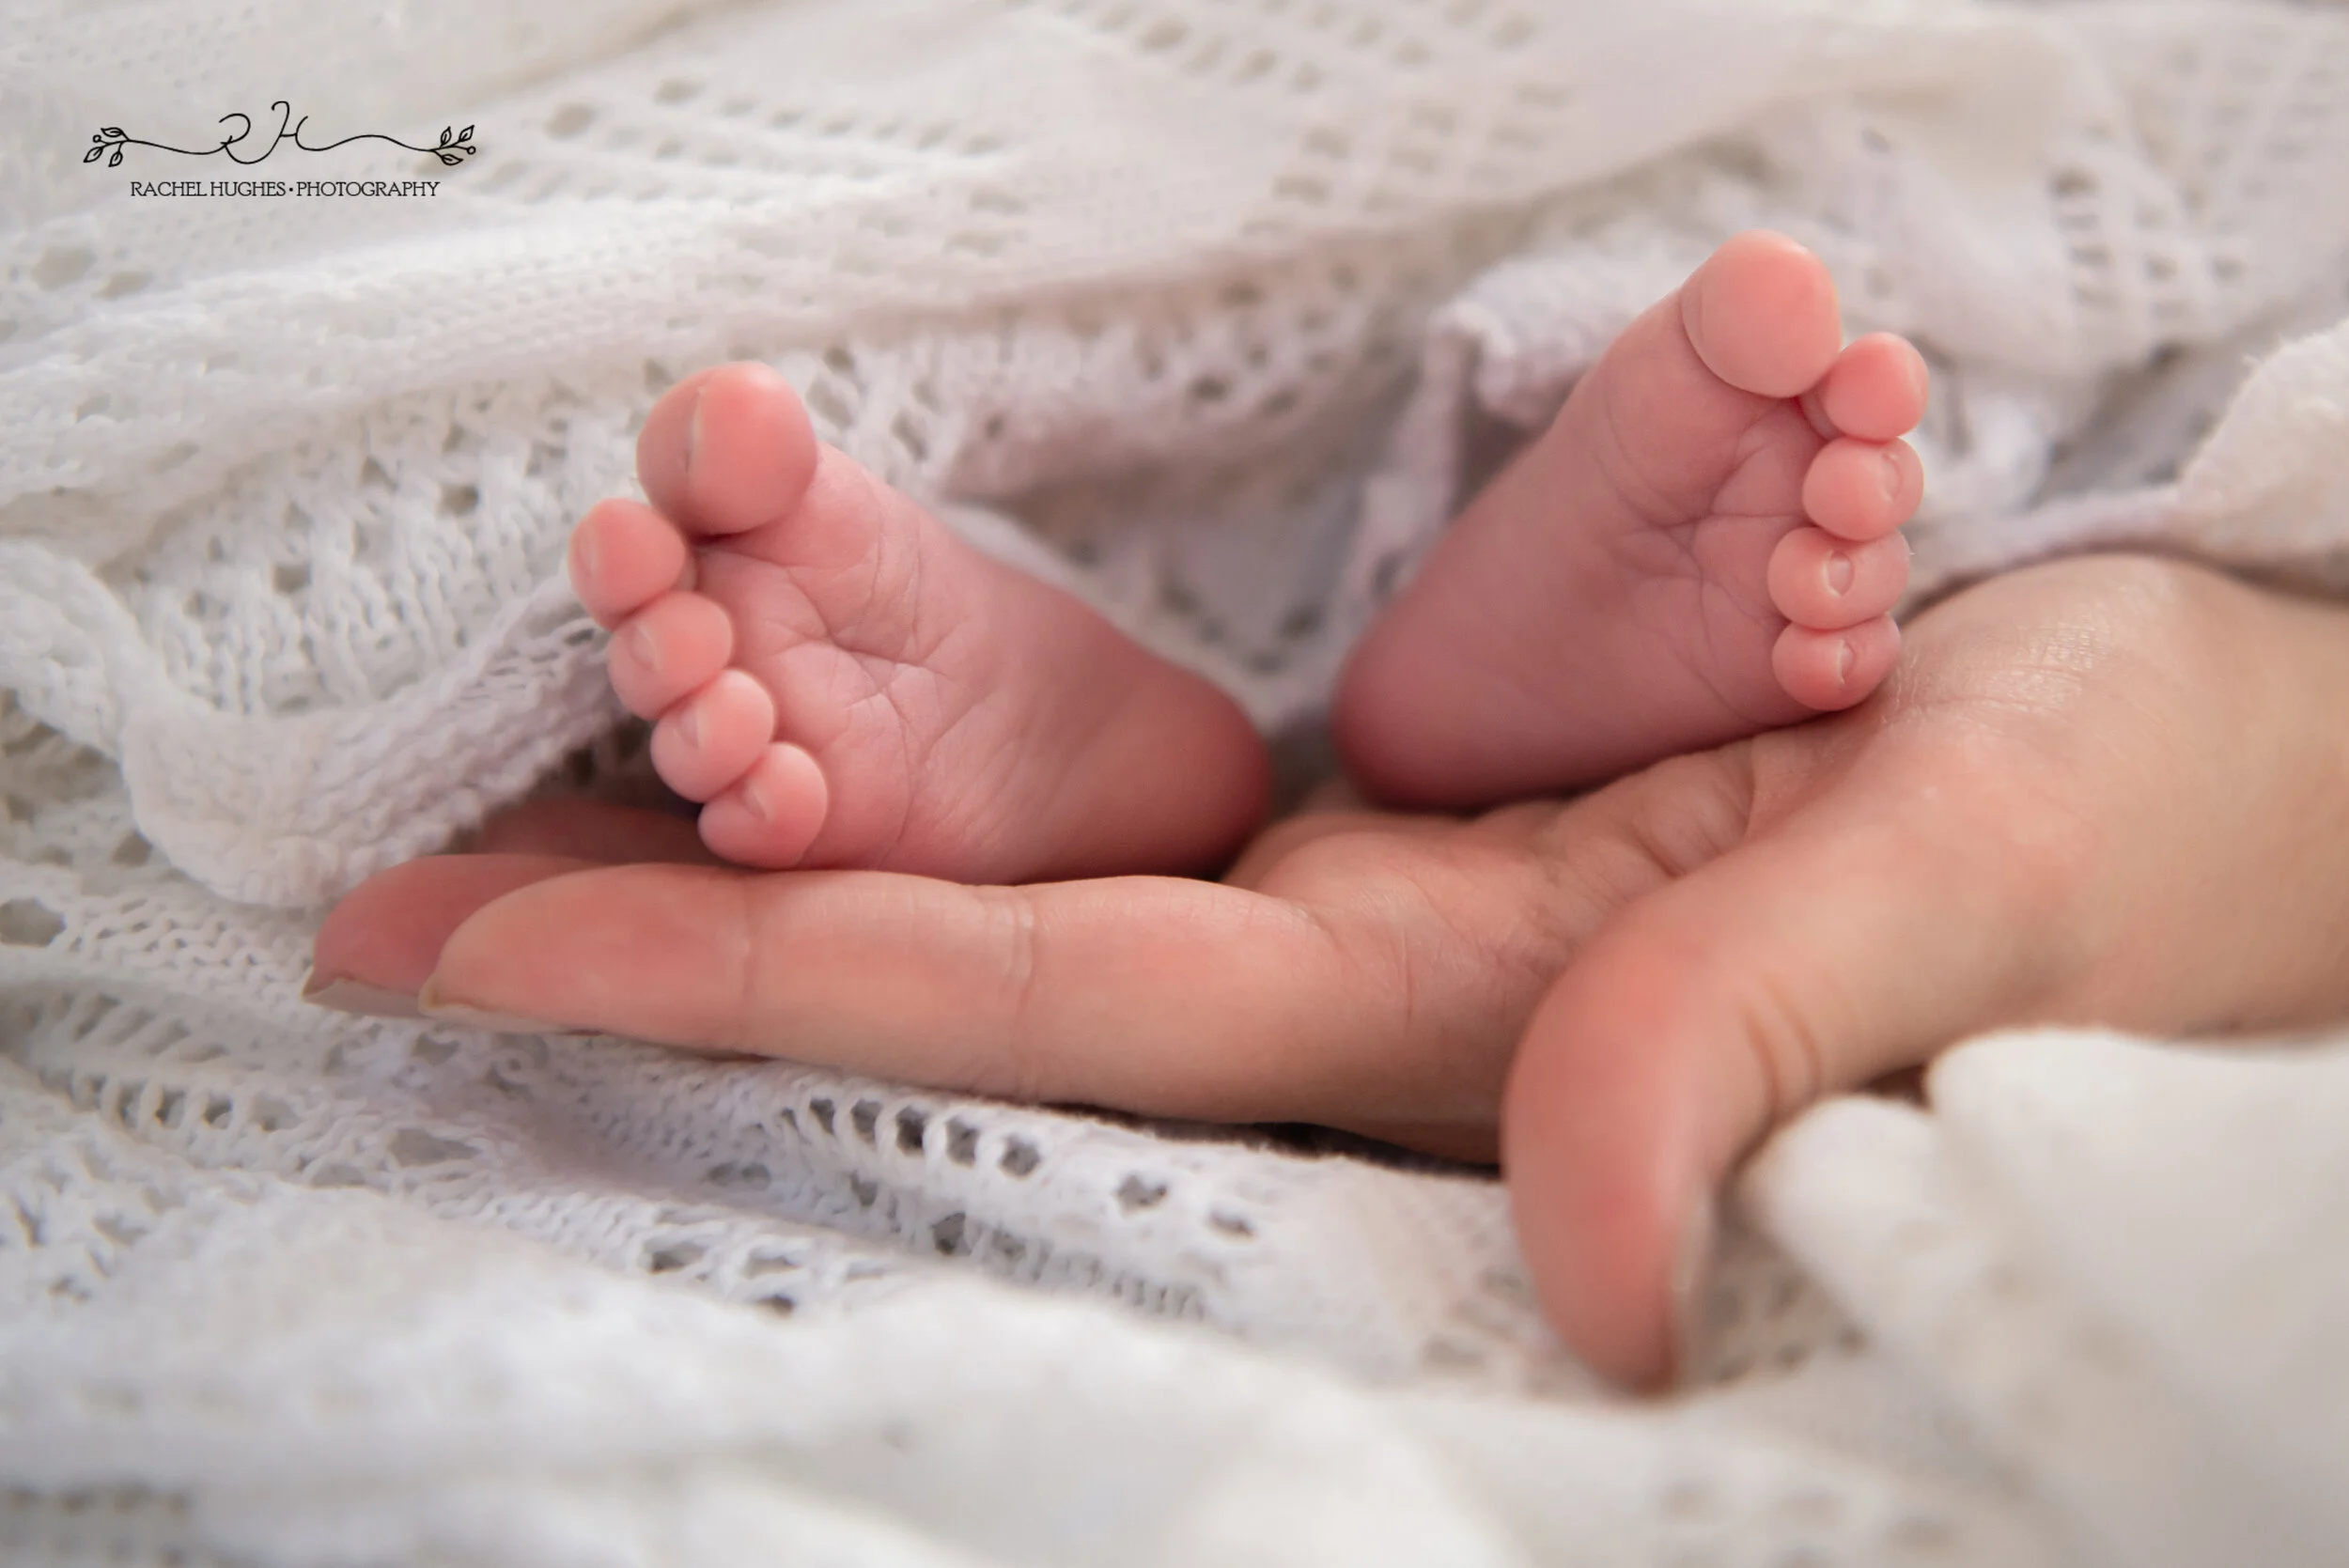
Document all of those sweet little details that make your baby unique! That little button nose, pursed lips, tiny toes and fingers – these are all things that you will not want to forget as your baby grows.
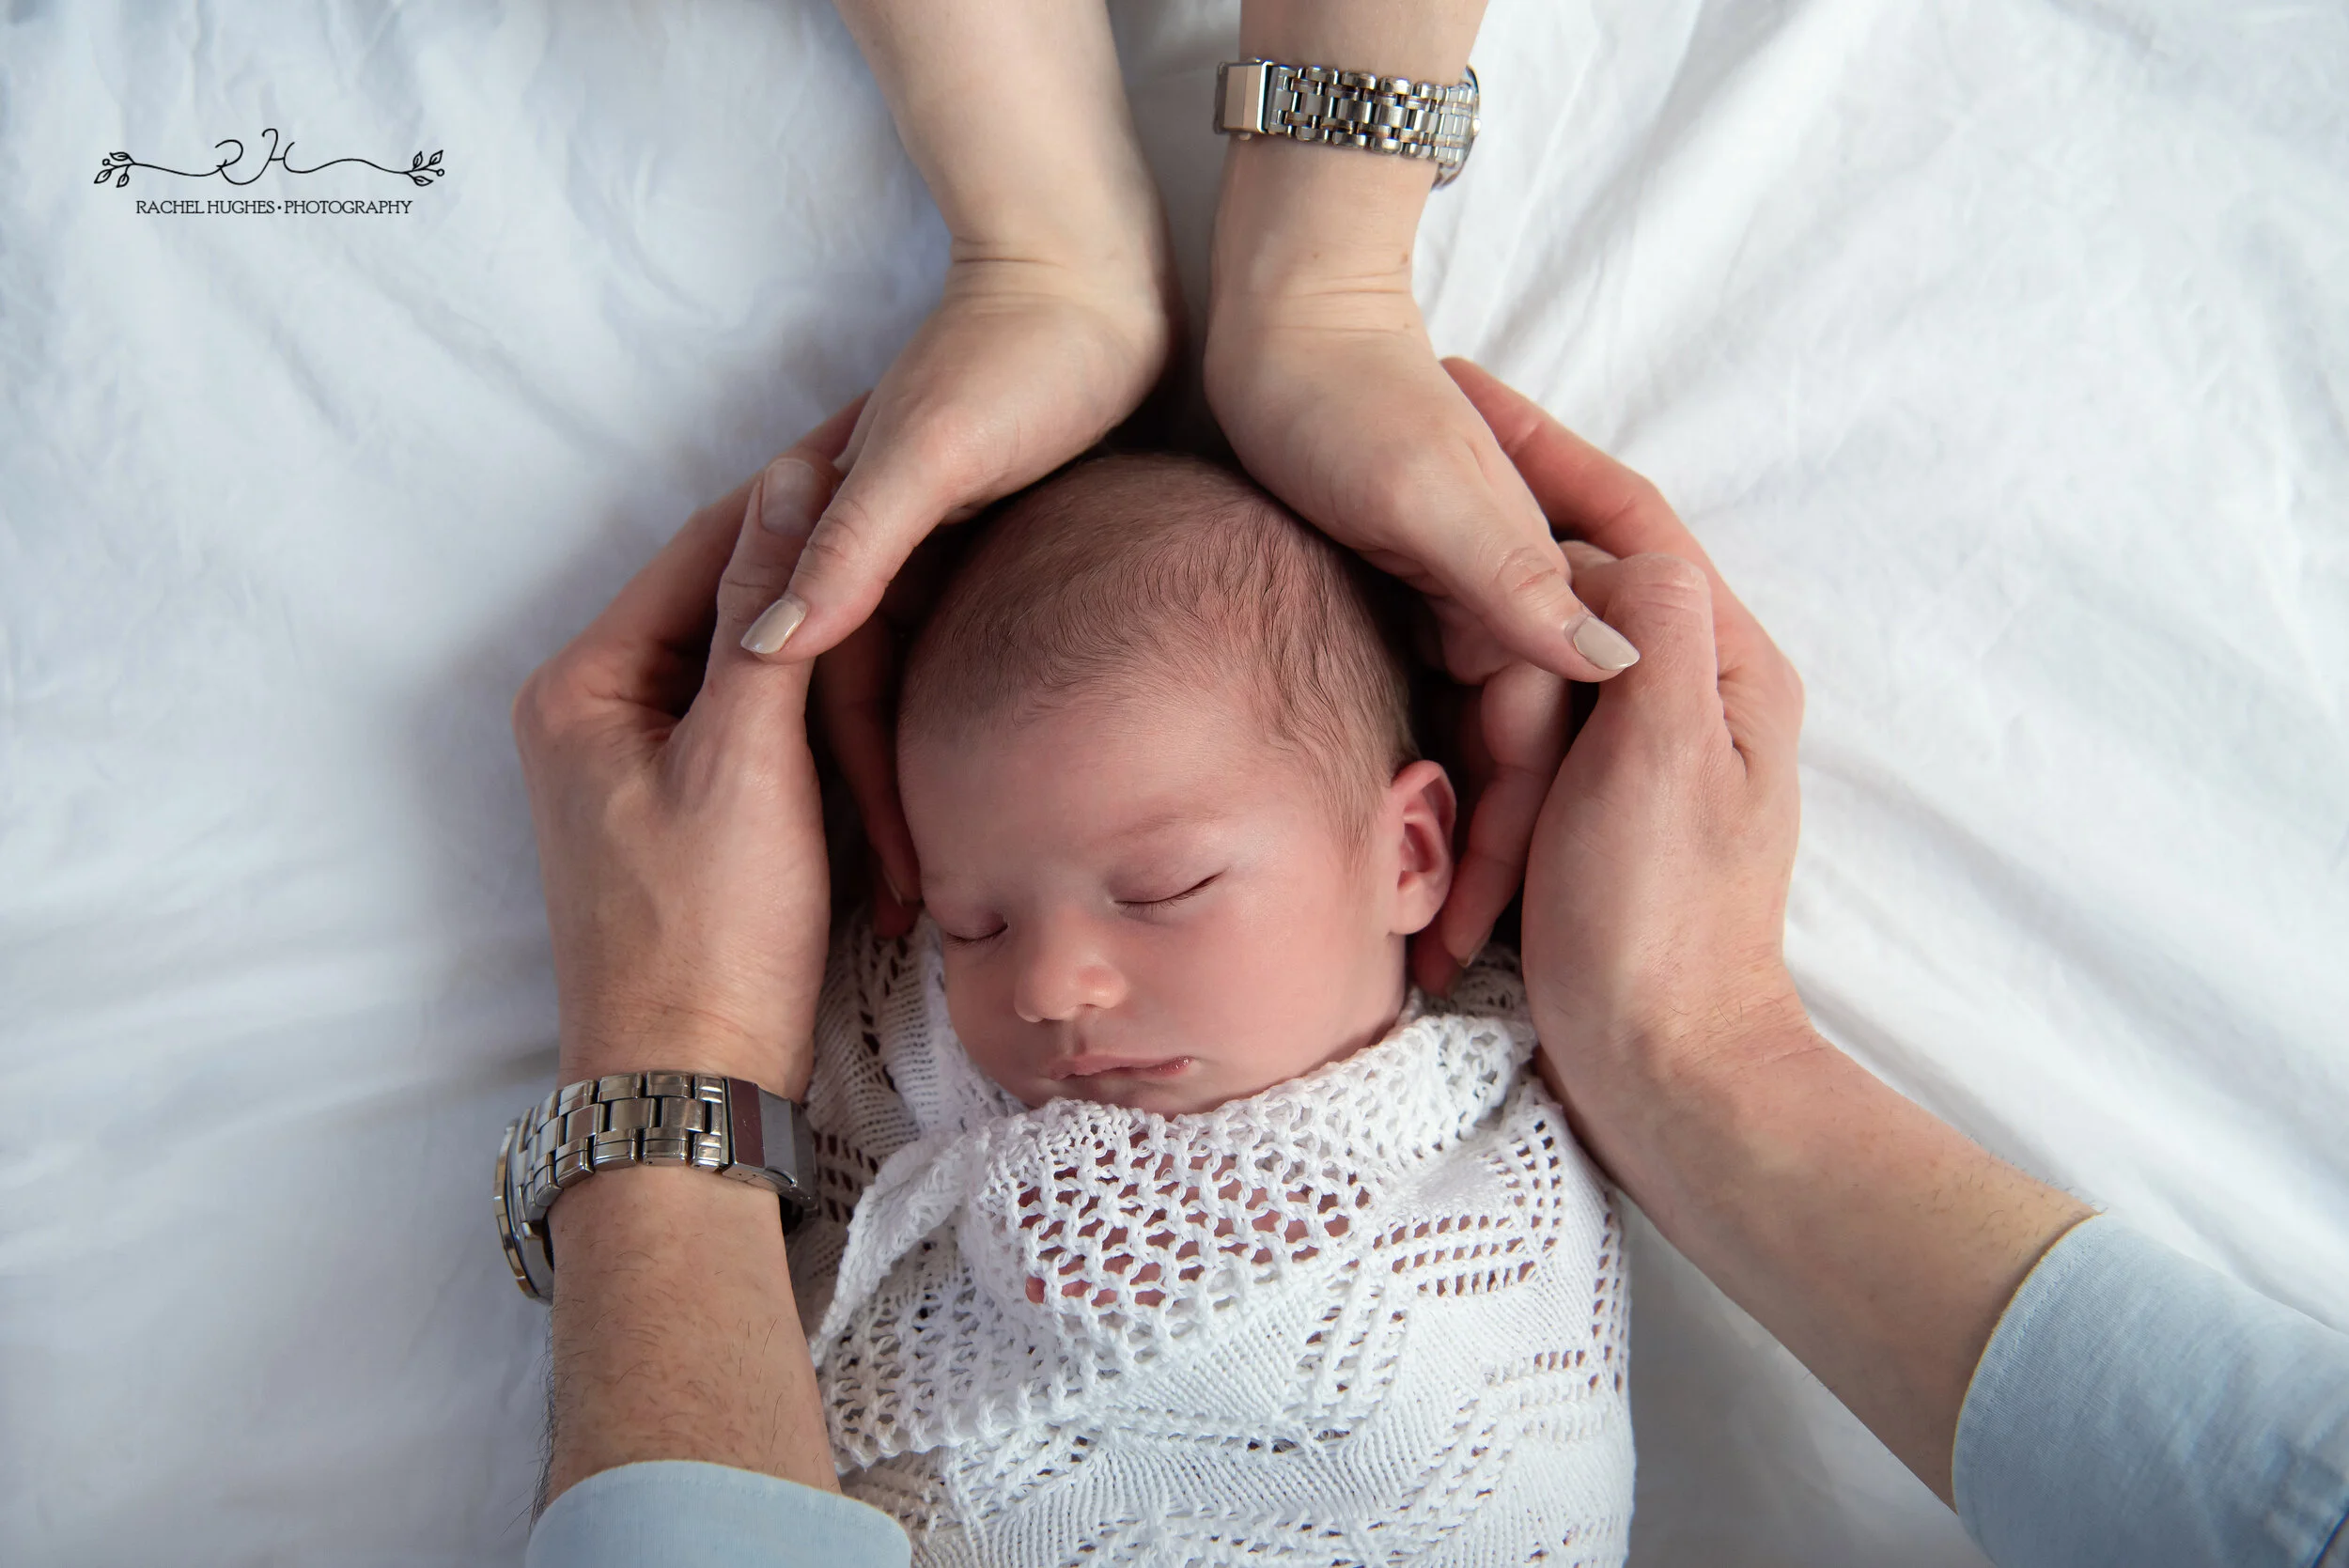
I also like to take shots that show some perspective on how small your baby is. I especially love photographs of your baby in their cot, on a huge bed, in daddy’s arms, or with your hands in.
Include siblings and make them feel special
Make sure to take photos of your new baby with their older siblings - these can take a little longer to get right, so take plenty of shots, but they will be so worth it. Older siblings can hold their newborn sibling, but if you have younger siblings get them to lie down next to baby and talk to them about their baby’s little nose, tiny eyelashes, soft hair - as they look and gently interact with their new baby you can snap away! Getting your children involved can make them feel very special at a time when they might be feeling a little unsettled about the new arrival.
Experiment with different angles
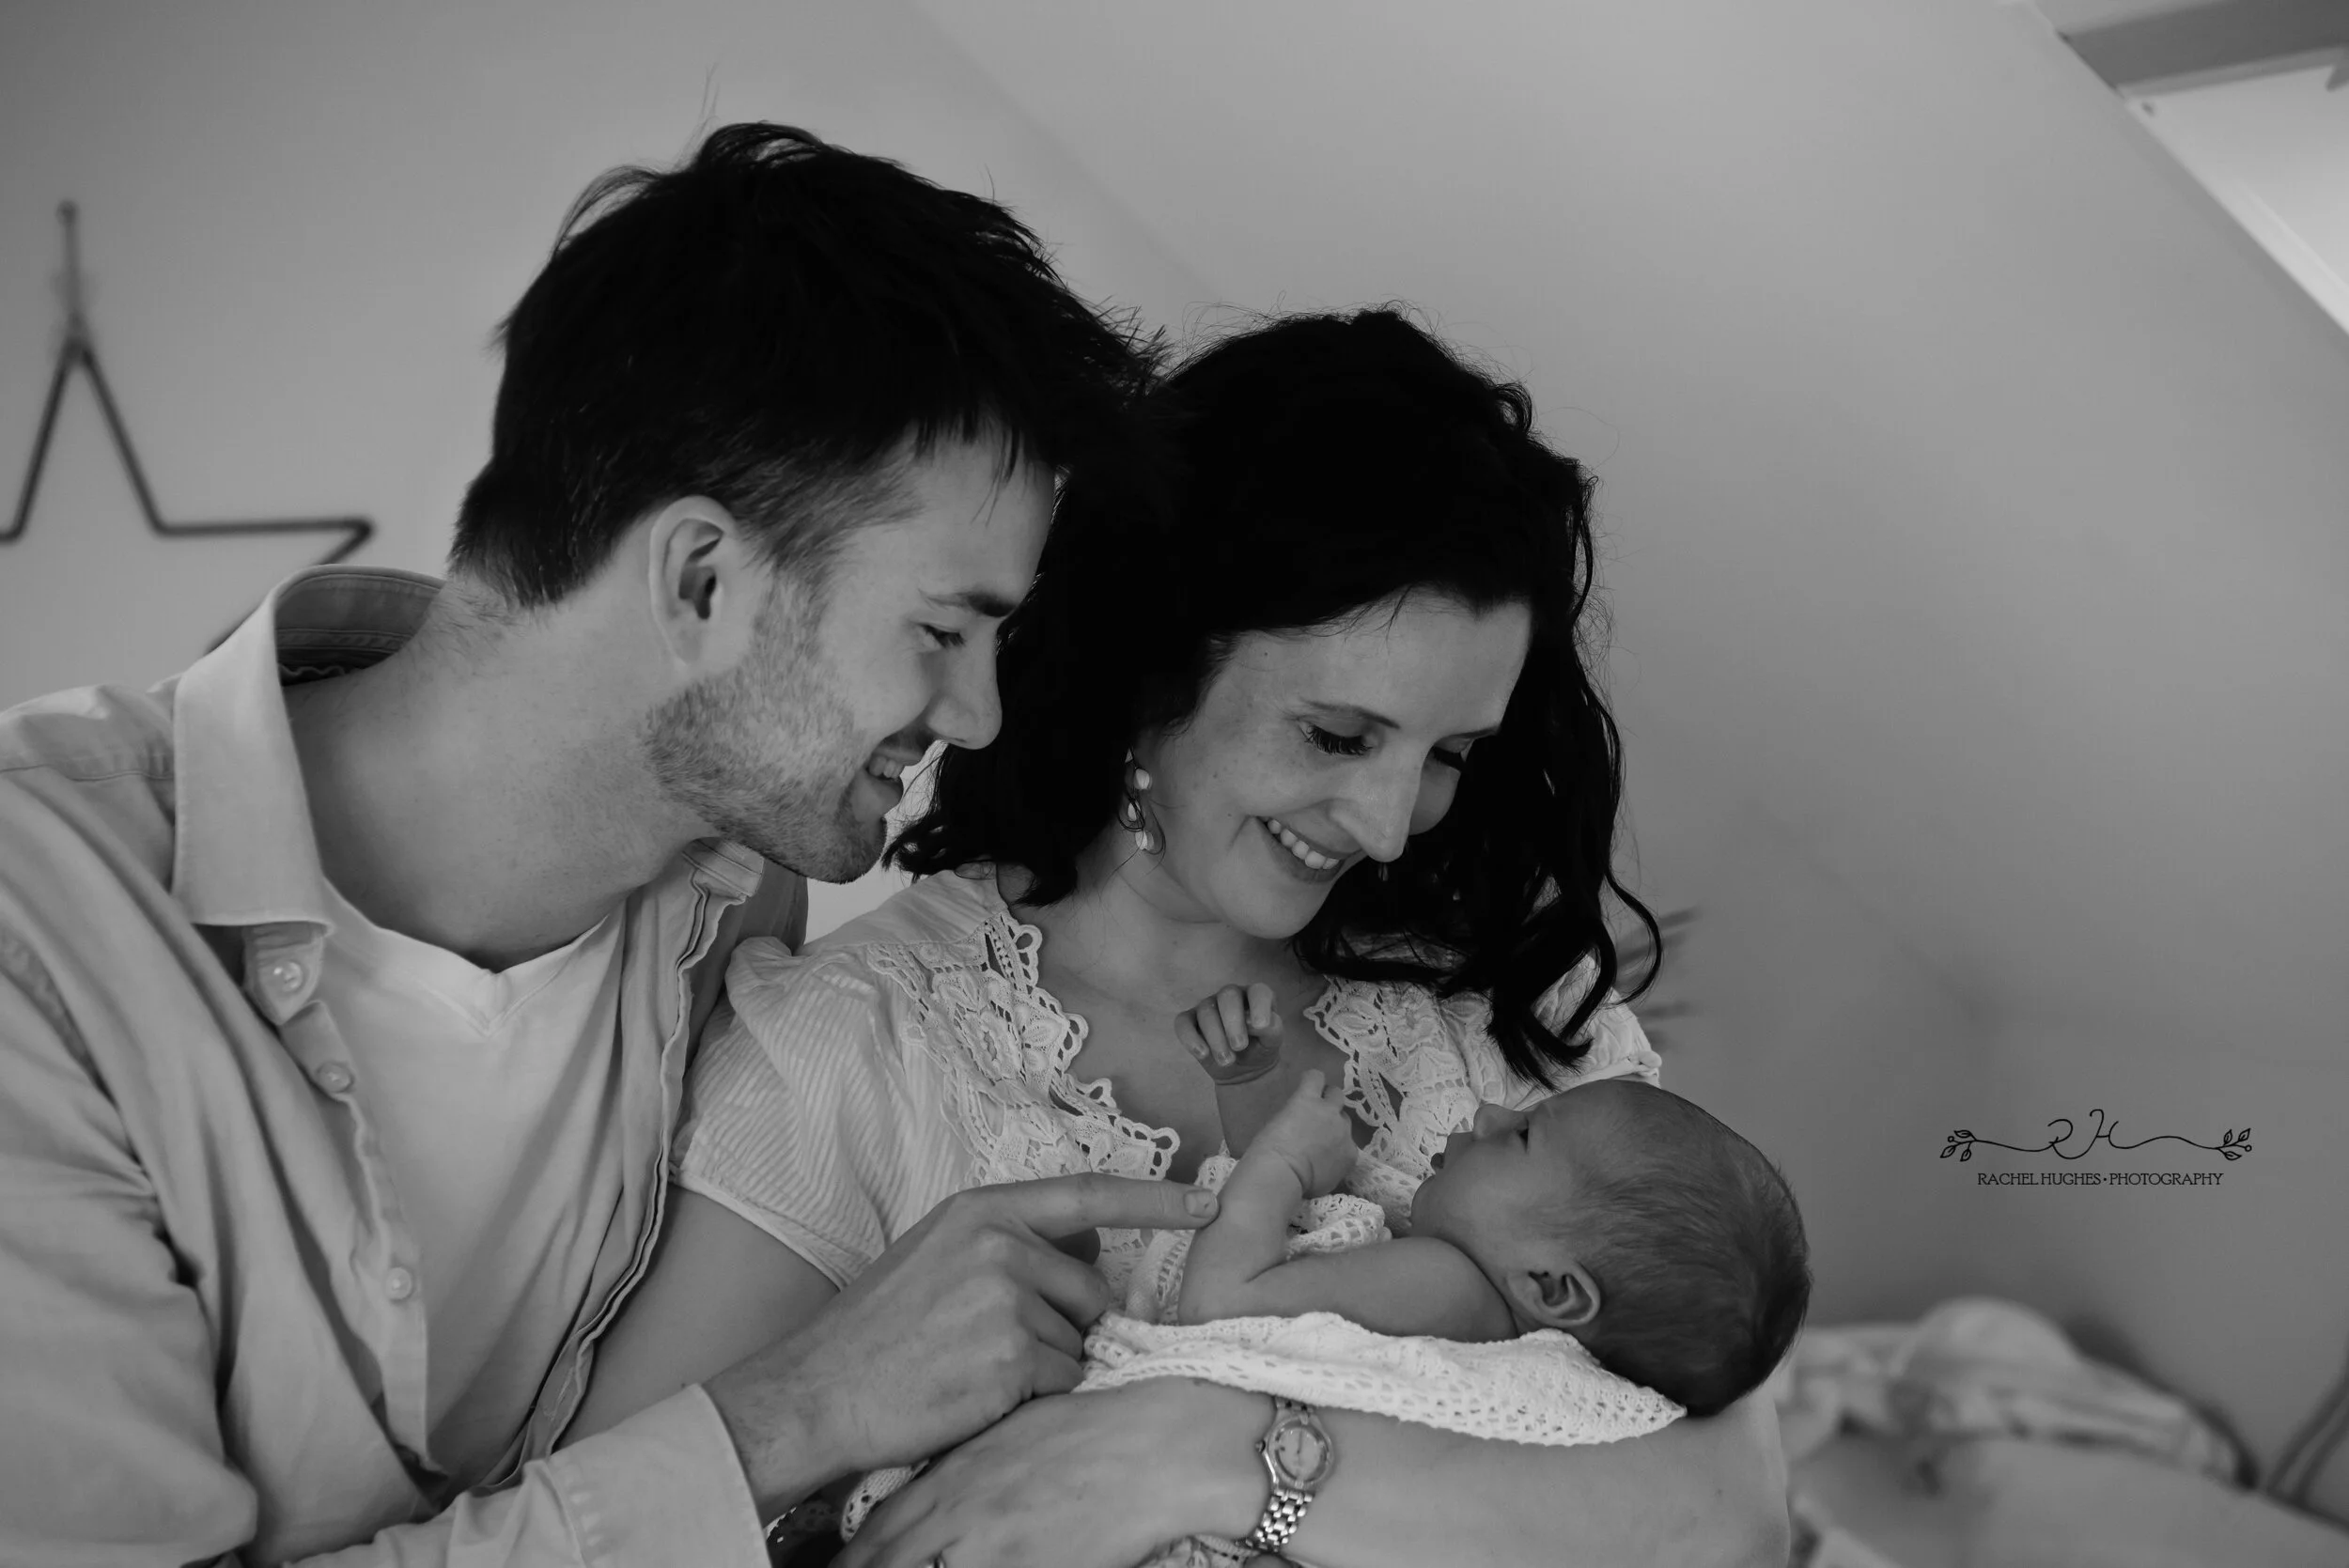
Instead of rushing to change your setup or reposition your baby, try getting up and walking around your baby to see what unique angles you can photograph. This is an easy way to get plenty of variety out of a single pose. For example, I love shots from above and behind that show baby looking up at their parents - it gives a lovely sense of how you see baby through your eyes.
Try to get a few photos of you all
I know this will be the hardest thing to do, without someone there to take the photo for you, so don’t seek perfection. Anything you capture will be special. Pop your camera on a tripod if you have one, or a shelf or stepladder, or get your phone camera on a selfie stick. Use the self-timer function and instruct your camera to take plenty of shots in succession whilst you all cuddle together, or the kids jump on the bed, or you and your partner hold the baby in your arms.
Embrace black and white edits
Sometimes the skin on newborns can be a little jaundiced, or red. Normally I would fix this in Lightroom or Photoshop, but if you don’t have access to sophisticated editing software the easiest fix is to convert the photo to black and white - it also has the added bonus of looking timeless. I always include a few black and white photos in my newborn galleries anyway, as I love the classic look of this edit.
I hope this blog has given you plenty of pointers on how to photograph your new baby at home. Please feel free to ask any questions below, and happy snapping! xxx


